My Blog List

Showing posts with label garden balls. Show all posts

Thursday, May 21, 2020

A FEW SCENES FROM MY MORNING WALK IN THE GARDEN

It's the second thing I do every morning. Number one is put the kettle on to make tea. Number two is to pick up my phone and head out into the garden. What will I see this morning; a new flower, a wilted plant, a lizard scurrying ahead of me on the path or just that special scene that I want to capture in a photo? Here are a few of the scenes that I enjoyed this morning.

The kumquat is blooming and this year, if all the flowers are pollinated, we will have a really wonderful crop for kumquat marmalade.


In the distance is the pedestal with the hypertufa crevice garden. I planted it with little plants that could not survive my summer travels, nor the blasting sun. This year I am hoping for better success with a few things that have seeded there, a feather grass, and one particularly tough succulent I snuck in there last fall. But it is my opinion that the rocks could just stand alone.


As I walk back I realize I need to do a little editing to make walking through here a little easier.


Further along the wall the clematis, Clematis texensis 'Princess Diana', is starting to bloom. There was an anxious moment a few weeks ago when I was sure it was lost but then I noticed small shoots beginning to grow and within weeks she was showing her first buds.


Back up the steps and a nice shot of the prickly pear with the heart leaf skullcap. I have managed to control its spread so that it is confined to this area but it is an ongoing process.


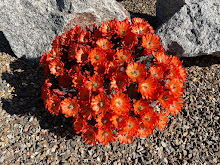
A passalong plant from Bob Beyer when he moved to Florida, the Crown of Thorns Euphorbia milii, blooms constantly.


I love my hypertufa balls in the English garden.


and the hypertufa trough in the Spanish Oak garden. I finally settled on the African false hosta, Drimiopsis maculata, another passalong plant.


Just outside the back door a cow bell, picked up at an estate sale, an aloe and a metal lizard make a perfect trio.


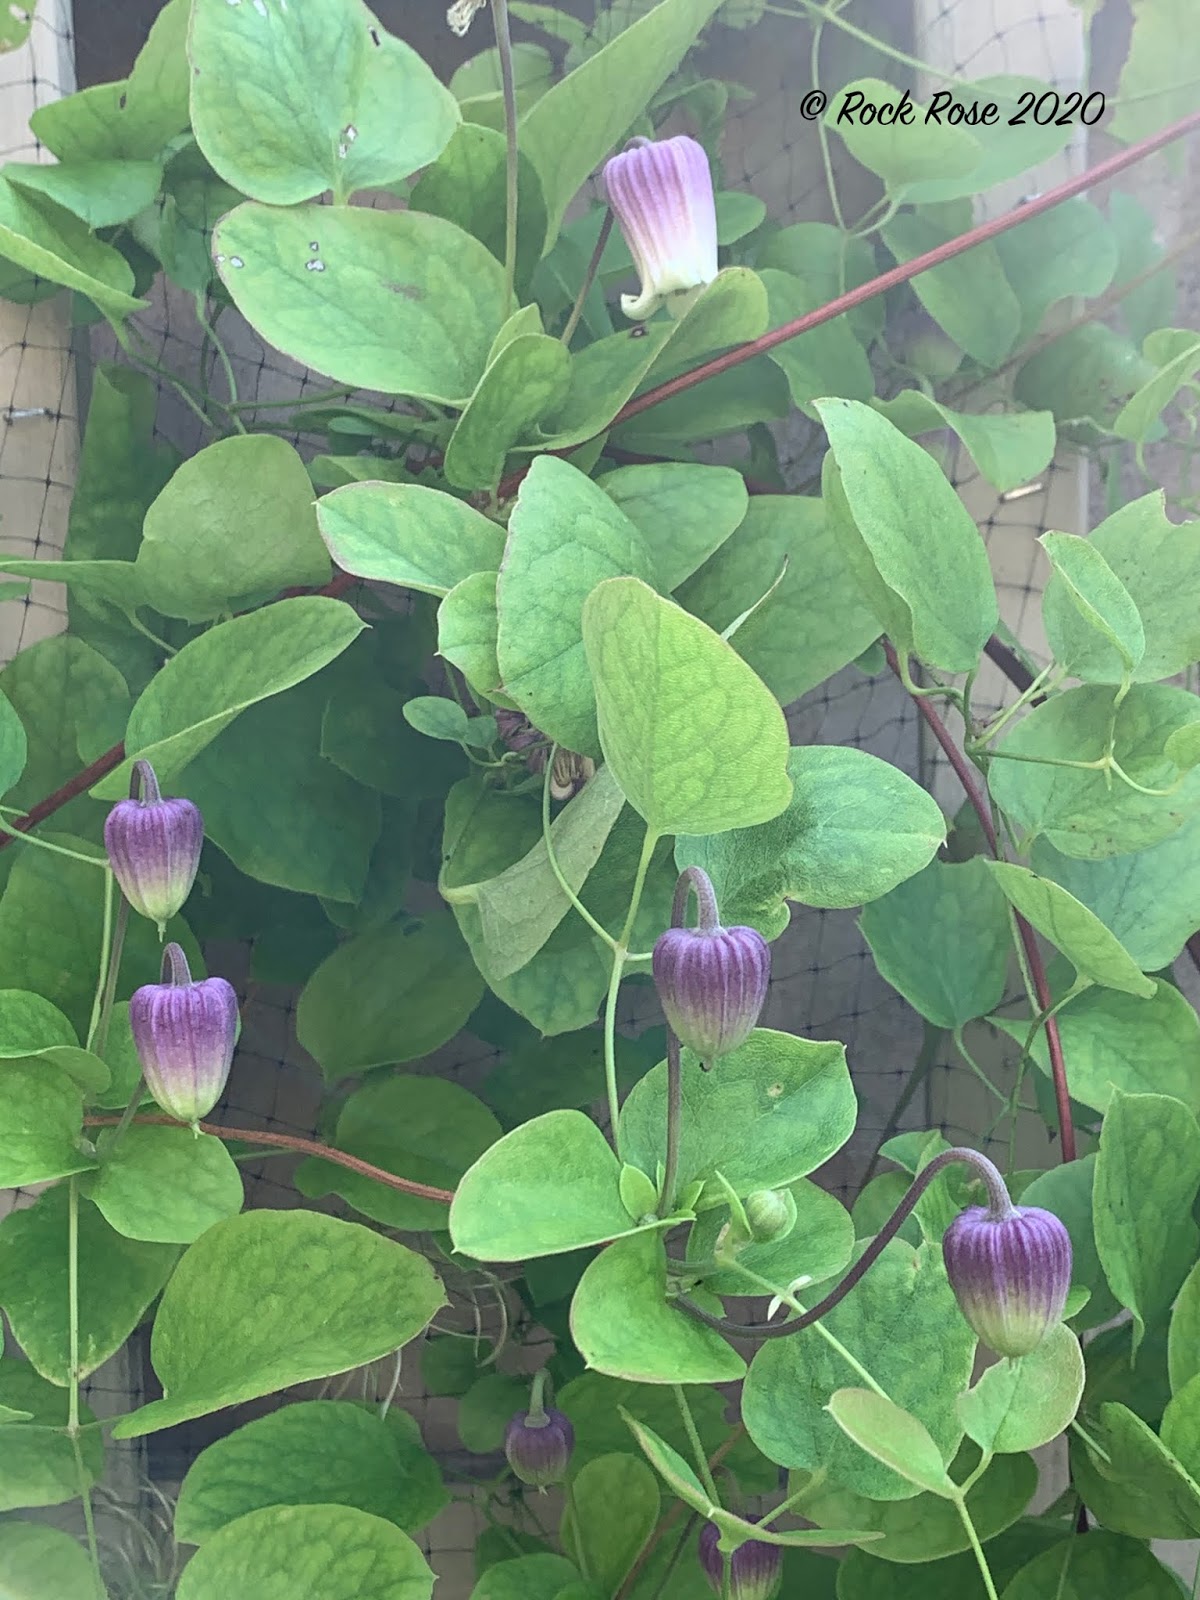
And on the far side of the courtyard garden I check out the Clematis versicolor, Lots of new buds ready to pop open.


At the same time on my walk I see plenty of jobs for the day but for now that early morning cup of tea awaits.

Friday, June 29, 2018

I THINK I'LL MAKE SOME MORE

Over the last few years I have made quite few of these hypertufa balls.

Hypertufa balls with Carex 'frosty curly'
Last weekend I made two new ones, the darker ones you see in this photo. It has been a project waiting on the shelf in the potting shed for some time. Too hot to be outside gardening but not too hot to work under the shade of the junipers in the back garden. 
My greatest success has been using old glass light globes as the mold, although one of these is made from an old basket ball we found in the woods. And you can make them from a child's ball by cutting a hole in the top, setting it in a bed of sand to support the mixture. See Faire Garden's how to here. I would probably feel less guilty about using one of those than the eventual destruction of the globe. But, when recently I found several globes at an estate sale I snapped them up. They make the job a lot easier.


The equipment needed is easy. A large container for the mix, the wider the better: it makes mixing easier. Gloves, trowel, jug for water, container to measure, cement, vermiculite or perlite and peat moss. And most important a face mask and protective eyewear.


One container of peat moss, vermiculite and cement was enough for two globes. I used a salad container.
Put on the mask( not much fun when the temperature is in the 90s) and measure equal parts of the peat moss, vermiculite and cement into the bowl and mix well making sure to remove any bits of twig and obvious lumps. At this point you can add colorant which you can buy at big box stores. I used some left over pigment from the making of our stucco walls.


I used just over a gallon of water in the mix but this will depend on how dry your peat moss is. it should have the consistency of cottage cheese or a heavy dropping consistency. Gather some up and squeeze. I should stay together.
Spray the inside of the mold with Pam and then add the cement shaking to settle and fill the whole of the globe.
Set aside for several days and then carefully knock the glass with a hammer. It should break away in large pieces. Now keep in a shady place until the cement cures completely.
With two more globes waiting on the shelf I made up another batch this morning. These have no added pigment so I expect them to be much lighter in color.


An hour later when I went back to take a photograph the ants were parading up and down the globes and clustering together on the sides.. They were after the water that had settled on the top as the cement dries out. Now that's what I call desperate for a drink.

For me that's it for ball making. I think I have satisfied my need.